UMDCTF 2022 Write-ups
This includes my write-up for UMDCTF which had many interesting and new forensics challenges along with other categories!

Forensics
1. Renzik’s Case
We’re given an image file usb.img which after loading in FTK shows the deleted files from the unallocated space. Simple one to begin with, nothing too complex.

2. How to Breakdance
For this one, we are given a .pcap file, which seems to include USB data.

Quickly going through the packets, you can notice the section of data that changes and one that stays the same. The interesting field here is Leftover Capture Data which includes the keystroke data sent from the keyboard to the host. Also notice that all packets have a field usb.urb_type which determines the direction of data transmission. URB_COMPLETE & URB_SUBMIT are the possible values for the same. We are looking for the direction keyboard to host, so let’s apply a filter for it: usb.urb_type==URB_COMPLETE

To get all the leftover capture data we can use tshark to redirect the output. We apply the same filter to get all the packets from keyboard to host first and then export the usb.capdata field which is our ‘Leftover Capture Data’ in wireshark.

tshark -r how_to_breakdance.pcapng -Y ‘usb.urb_type==URB_COMPLETE’ -T fields -e usb.capdata > keystrokes.txt
Now all we need to do is map the HID usage codes in hex to the actual keys pressed. I wrote a python script to do the mapping and then removed all the newlines to get a big chunk of text to work with.

3. Magic Plagueis the Wise
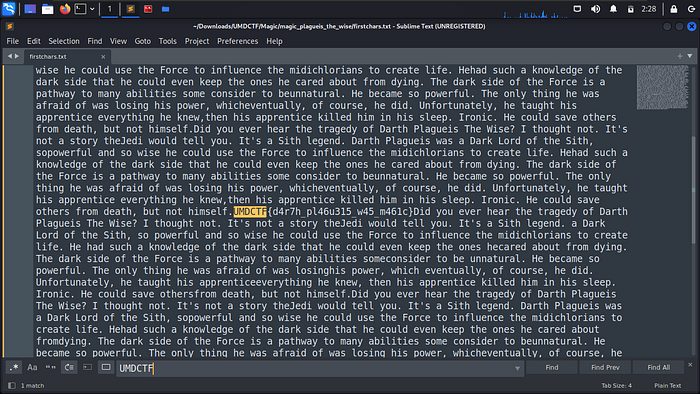
For this one, we’re given a large .zip file which had numerous .png files. Opening up the first image in HxD we can see a byte worth of data replacing the first byte of the default file signature for a .png which should be a % in ascii. Fixing the header results into a blank image for all files, which means the data that is being written is of interest.
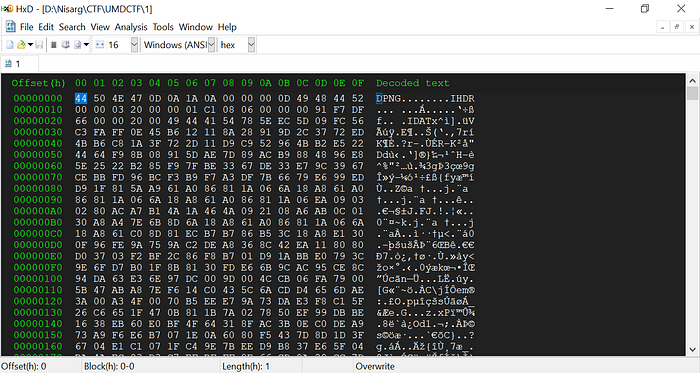
We can extract the first byte from all files like so: head -c 1 * > firstchars.txtand then simply process out the data from the additional noise.
4. jdata
For this we have a .zip file that includes only an image inside at first glance, but I found a binary embedded inside it.
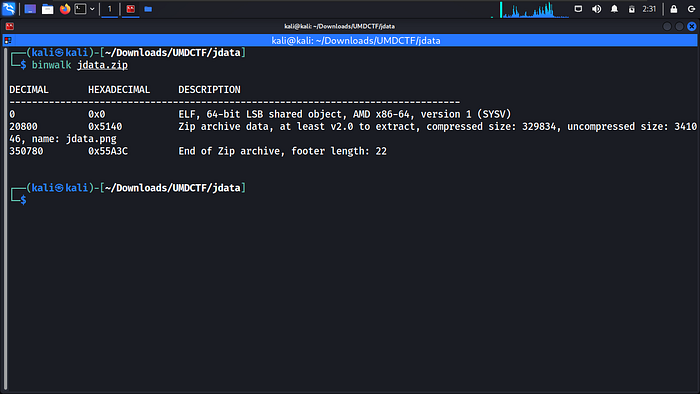
binwalk — dd=’.*’ jdata.zip will search and extract every known file signature embedded.
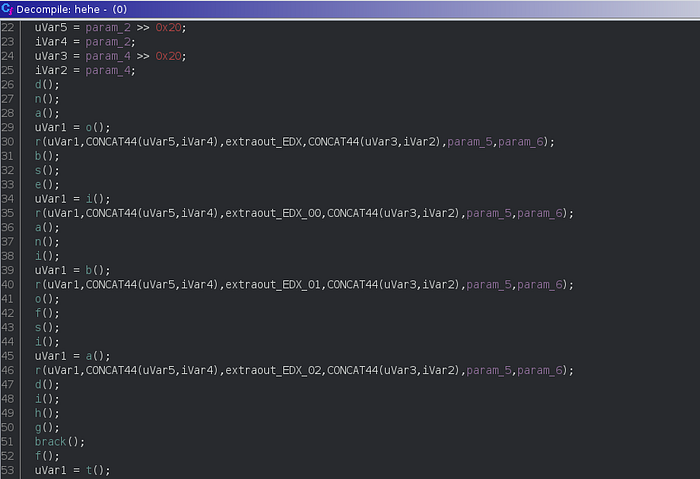
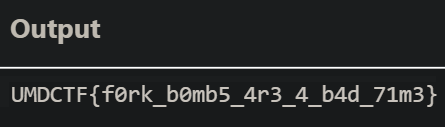
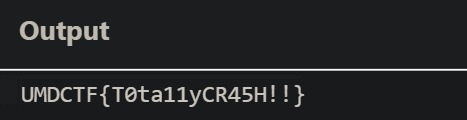
ghidraisforbinariesbroand is the first half of the flag.

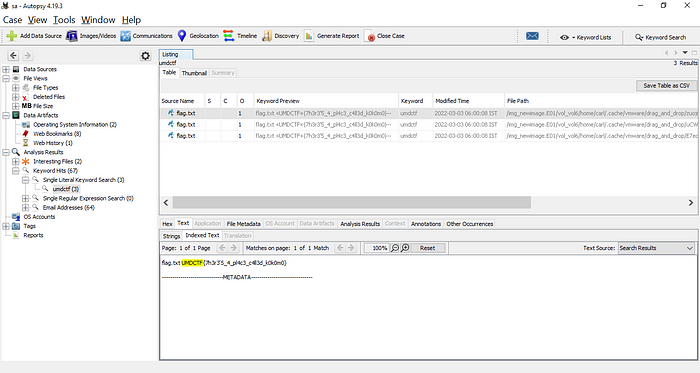
5. Class Project
For this we’re given a VM image. In time crunch, instead of booting it up as a VM with provided password, I mounted it with Arsenal and used FTK to quickly look for interesting files in the filesystem.

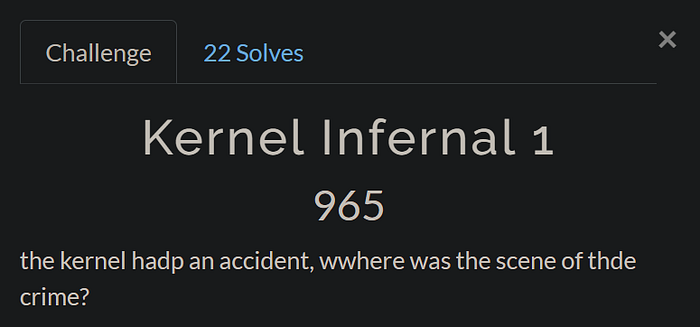
6. Kernel Infernal 1
This was the first time I came across a .kdump file. It stands for Kernel Dump, which is a mechanism in the Linux kernel to capture memory during a Kernel Panic. I used the crash utility to debug the memory dump.
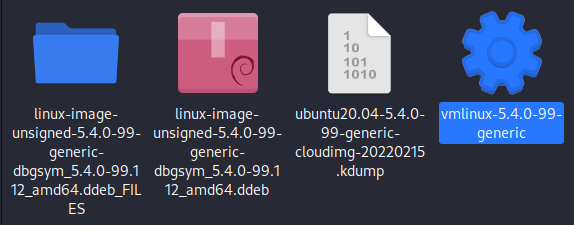
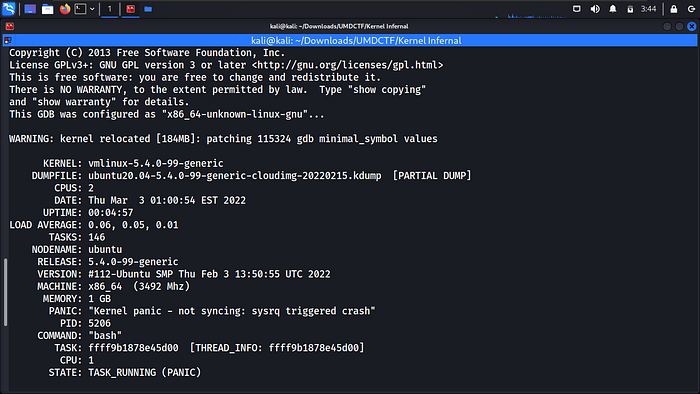
The crash utility accepts 2 parameters, first is the Linux Kernel Object File that has the debugging switch set. You can get it from the corresponding OS index. Here we have a dump from ubuntu20.04–5.4.0–99-generic so find the equivalent debug symbol package and grab the object file from it.
The hint was ‘pwd’ which stands for present working directory, so I examined the backtrace first to determine which process caused the kernel panic. Then we can use the file command with the PID of that process.
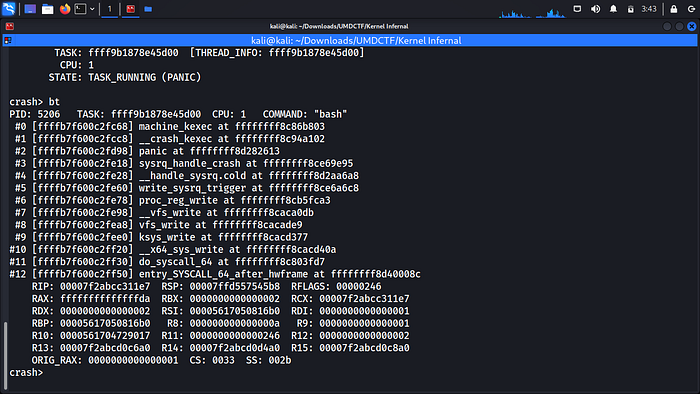

The challenge author wasn’t aware of the files command, and posted the intended solve on discord, which I wasn’t able to replicate but basically you have to traverse the task_struct structure to get the directory name, similar to how we would traverse an _EPROCESS structure to get ‘next process name’ and ‘previous process name’ from ActiveProcessLinks structure in a Windows memory dump.
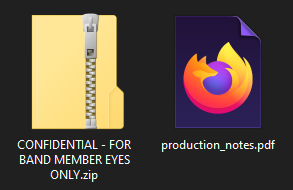
7. Still Crusin’
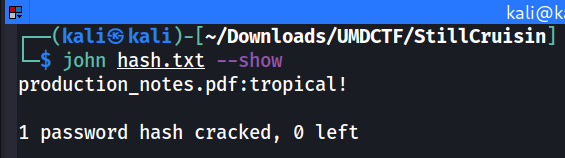
Again we have a VM image zipped and password protected, and an encrypted pdf. I started by cracking the pdf password using john.
Again, I just wanted to look at the filesystem so I didn’t boot up as it would take a lot of time. This time instead of FTK, I used R-studio as FTK wasn’t showing me some necessary deleted files. There were many deleted audio and image files to misdirect the players into deep steganography and spectral analysis rabbit holes. However I was able to find this hint so I quickly pivoted.

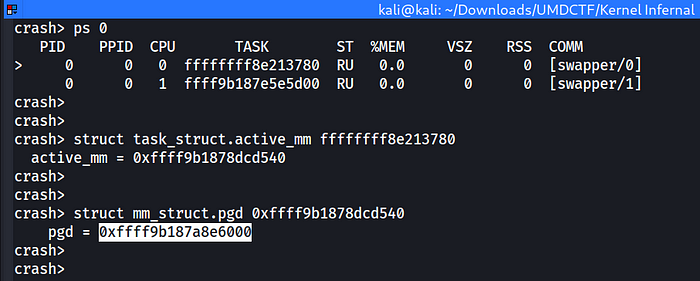
8. Kernel Infernal 2
For this one, we’re asked to find the address of the CR3 register.

CR3 enables the processor to translate logical addresses into physical addresses by locating the page directory and page tables for the current task.
CR3 contains the physical address of the page of the page directory table, so it is also called PDBR. This value is unique for each running process, since every process has it’s own page table.
So, we just need to walk the task_struct to get to the pgd pointer.
Misc
1. ChungusBot v2

Visiting UMDCSEC’s github, we can find it’s repo.
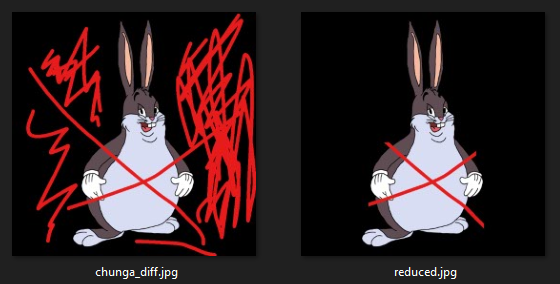
We had to use this Discord bot and it’s custom commands to make it reveal the flag. After looking at the code I noticed there were two checks, one checking the amount of pixels same as the bot’s Discord profile picture, and other is some value in 45–50 & 14–19. I tried fetching the original source of the profile picture using Discord web app, but I just couldn’t reach the demanding 92% similarity.

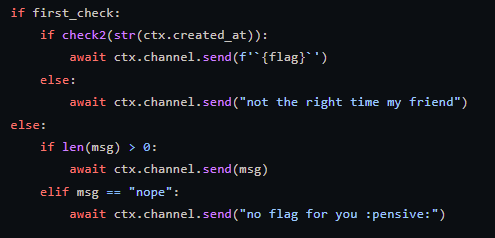


I used the good old MS Paint to set the exact black used for background, remove majority of the reds, and set it as my Discord profile picture. That second check was for the metadata of the image created and not when you use the command. So while the minutes fall in that custom range, save the edited picture.
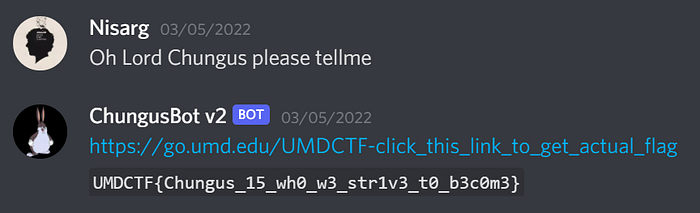
UMDCTF{Chungus_15_wh0_w3_str1v3_t0_b3c0m3}2. RSI 2
We’re provided with .osr files which are replay files for the game ‘osu!’. So, naturally I install the game and try to open the file in it.

After looking around, I found the API for this game which can be used to find out the beatmap_id value and download it so we can see the replay file.
First we need to generate an API key, we can do that here. Register yourself and generate a key to use.
Reading the official API docs, get_beatmaps needs k and h for our scenario.

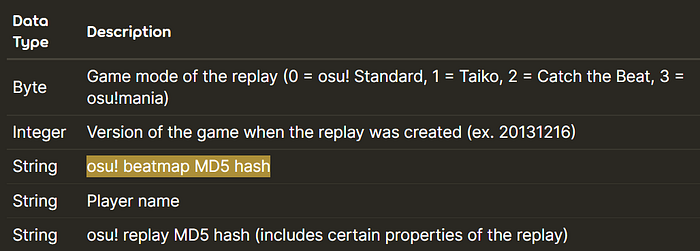
To get the beatmap hash, we can again refer to the .osr file structure and obtain it.

We can now send the following request:
https://osu.ppy.sh/api/get_beatmaps?k=<YOUR_API_KEY_HERE>&h=2d687e5ee79f3862ad0c60651471cdcc

We can go to following URL to download and install the beatmap:

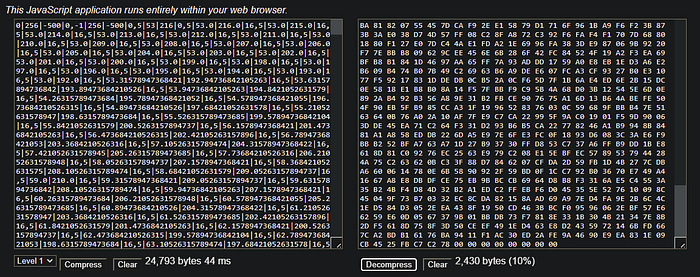
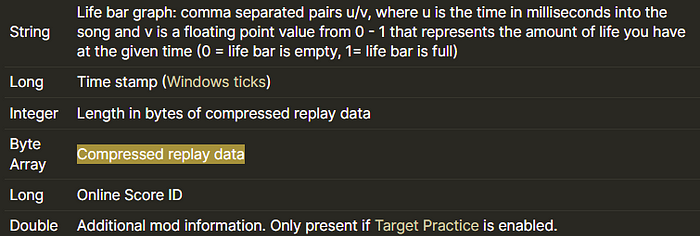
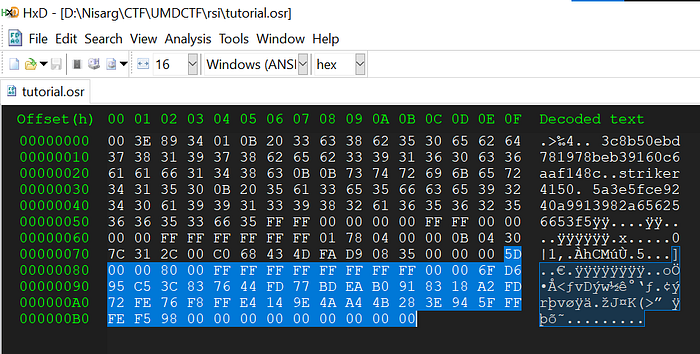
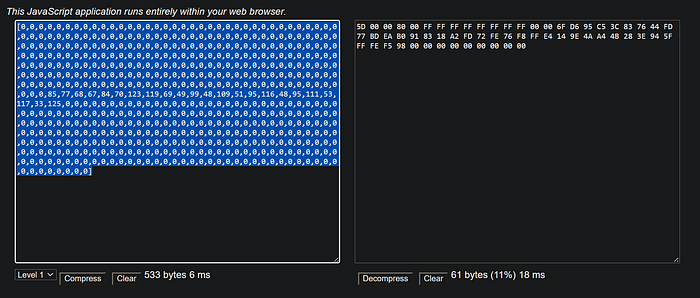
Now, we can view our replay which reveals the flag but it isn’t very clear. So I switched to a different approach. I studied the .osr file structure which is officially documented here. The Replay data is LZMA compressed. So, I decompressed the data and we have values in the format mentioned in the file structure.

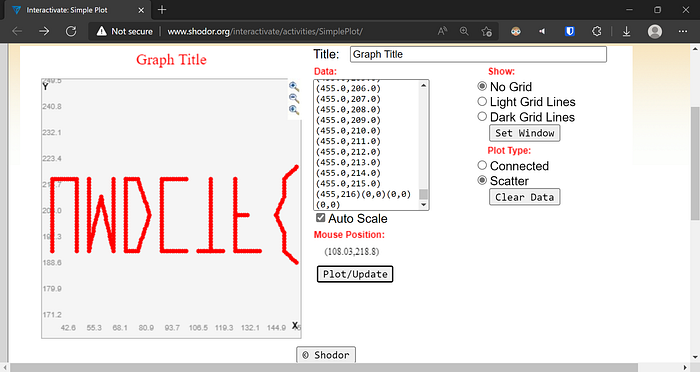
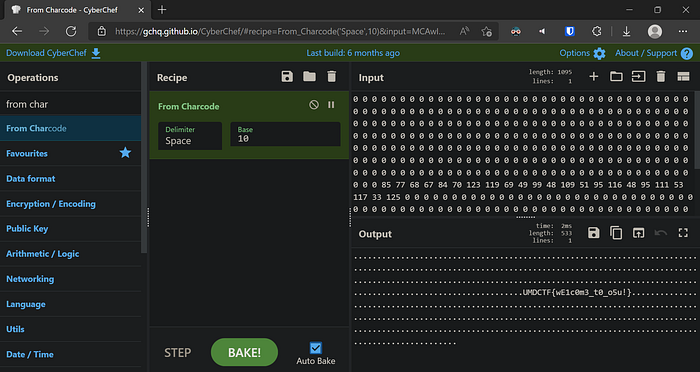
Now that we have our coordinates, we can plot them and find the flag in clear text!
3. RSI 1
For this one, we are only concerned with this Byte Array.
References
USB Request Block (URB) — The Linux Kernel documentation
USB HID Keyboard scan codes · GitHub
https://crash-utility.github.io/crash_whitepaper.html
Basics_of_Kernel_Crash_Dump_Analysis.pdf (redhat.com)
TIAM Architecture (gobolinux.org)
ols2006v1-pages-153–176.pdf (kernel.org)
